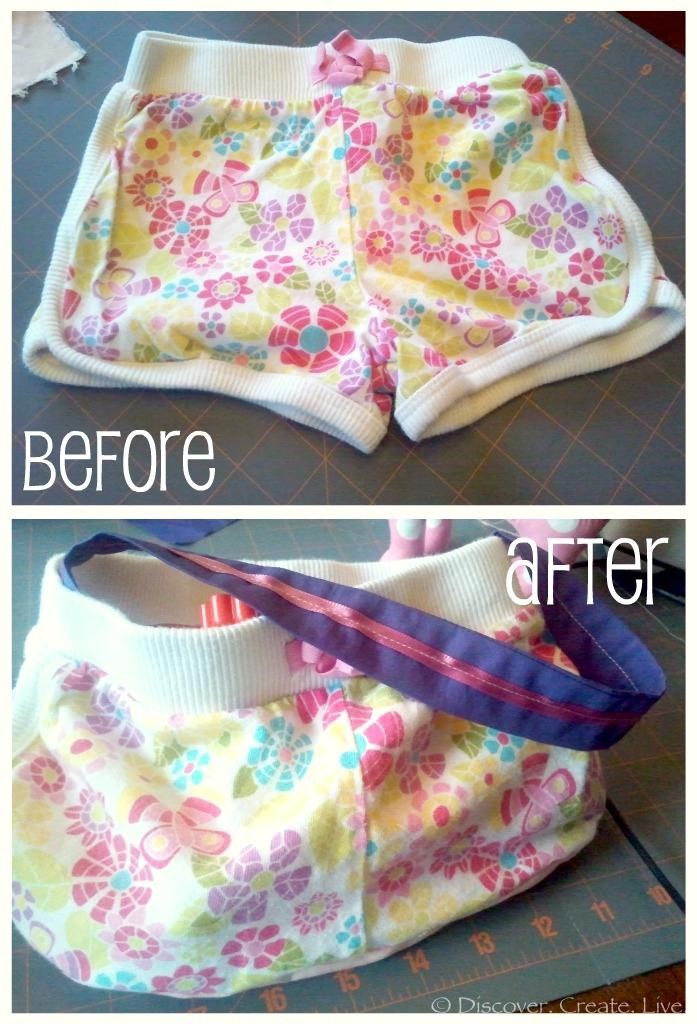
We got these shorts in one of our ebay “lots” of clothing – size 24 months. Most of the clothes were for the fall/winter season, because that’s when she turns 2, but for whatever reason these shorts came along for the ride. Though it’s very tempting, I have no desire to dress my child in booty shorts next winter! Sooo somewhere along the way I decided they needed to be made into a purse. And that’s what I did 🙂
I started by flipping the shorts inside out and measuring the same distance down all four seams from the top {this was literally the only measuring I did for this project!}. I then roughly connected my marks with a sharpie and cut off the leg holes.

After removing the leg holes, I searched my scrap fabric selections until I came across a plain, light pink material I thought would be just big enough for the bottom. I held the “skirt” above it to make sure it would work, and sure enough it just barely fit! I wasn’t sure how to make a symmetrical oval, so my solution was {after ironing} to fold the fabric in half twice so that I could round all four of my “corners” at the same time. I pinned it in place to be sure the folds didn’t slip.
It turned out better than I expected! After re-ironing, I pinned the oval to the wrong-side-out “skirt” and sewed it close.
I used the edge of the foot as my guide so that rounding the corners wouldn’t get too confusing for me. I also did a backstitch {stitching in reverse over a small area} when I began & ended to keep everything in place. Then I flipped it right side out – and was again pleasantly surprised! {I made this up as I went guys!}
Then using a long purple scrap, I made the strap. I didn’t measure, I just went with the size of the scrap :). I ironed it to smooth the wrinkles, then folded in half lengthwise and pressed it again. Next, I sewed the long side and one of the ends close using the same seam allowance {aka the foot pedal as my guide}. The next step was to turnthe strap right side out through the little end not sewn shut & again repress. Time consuming, but worth it! I then added some pinkribbon by doing a simple stitch right down the middle of the strap and ribbon.
Here’s where it gets ugly… literally ugly… it wasn’t that hard to do. I sewed the ends of the ribbon to the inside of the purse with a regular needle & thread. I did a loop stitch around the bottom, then carefully stitched up the strap, attaching it to the inside of the waistband. I ended by repeating the loop stitches and knotting the thread.
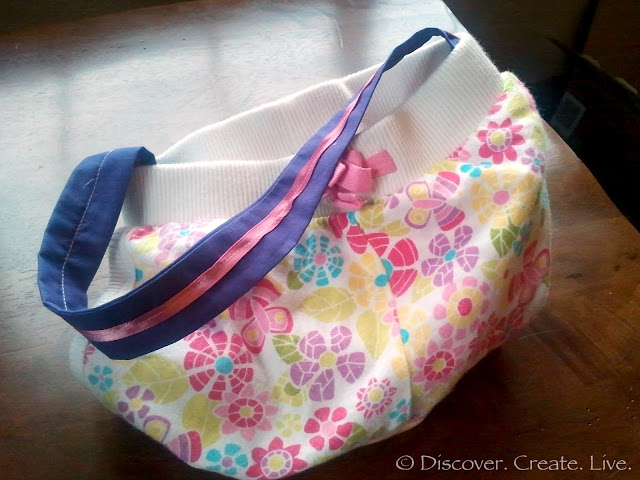
And here we have the finished product!!


That is an awesome purse. Great job! And she is sooo precious!
Thanks! we like her 🙂
Adorable! I wish I had any sort of sewing skills.
Cute idea and the little one is adorable!
oh my goodness……you are sooooo creative. I recognize a good idea when i see one, but seldom (if ever) come up with one on my own… Awesome job! LOVE the purse and the little girl holding it!! (and her mommy) from G'ma
Shannon, I sooo do not have "skills" – I'm still amazed this thing turned out! 🙂
Joy, Thanks! I love love love that she knew just how to pose without any direction from us. Such a little girly girl.
Grandma, glad you figured out the commenting thing! Thanks so much – we LOVE you too!!
What a brilliant idea!! And it turned out so beautifully!! I have to pin this so that I can make something similar for Lillian…although somehow I konw mine won't turn out so professional looking, ha ha! 🙂
Thanks! It was super fun… I'm sure yours will turn out great! If I can do it, anyone can 😛